# Workshop 2 Notes
In this workshop students will be presented with an overview of Arduino for robotics. In an active learning environment making use of these online resources developed for engineering physics, students will learn about sensors and actuators used for autonomous control of mobile robots. Using virtual resources and physical hardware, at the end of the workshop, participants will be able to implement codes and move physical robots. Discussion will follow about potential projects for interested students.
Let's get started!
# Workshop 1 Review: Arduino IDE
Goal: install (if applicable) and test the Arduino IDE with the Uno board on your laptop or desktop computer.
For your reference:
- Download and install the Arduino IDE for your operating system if you are using your own machine.
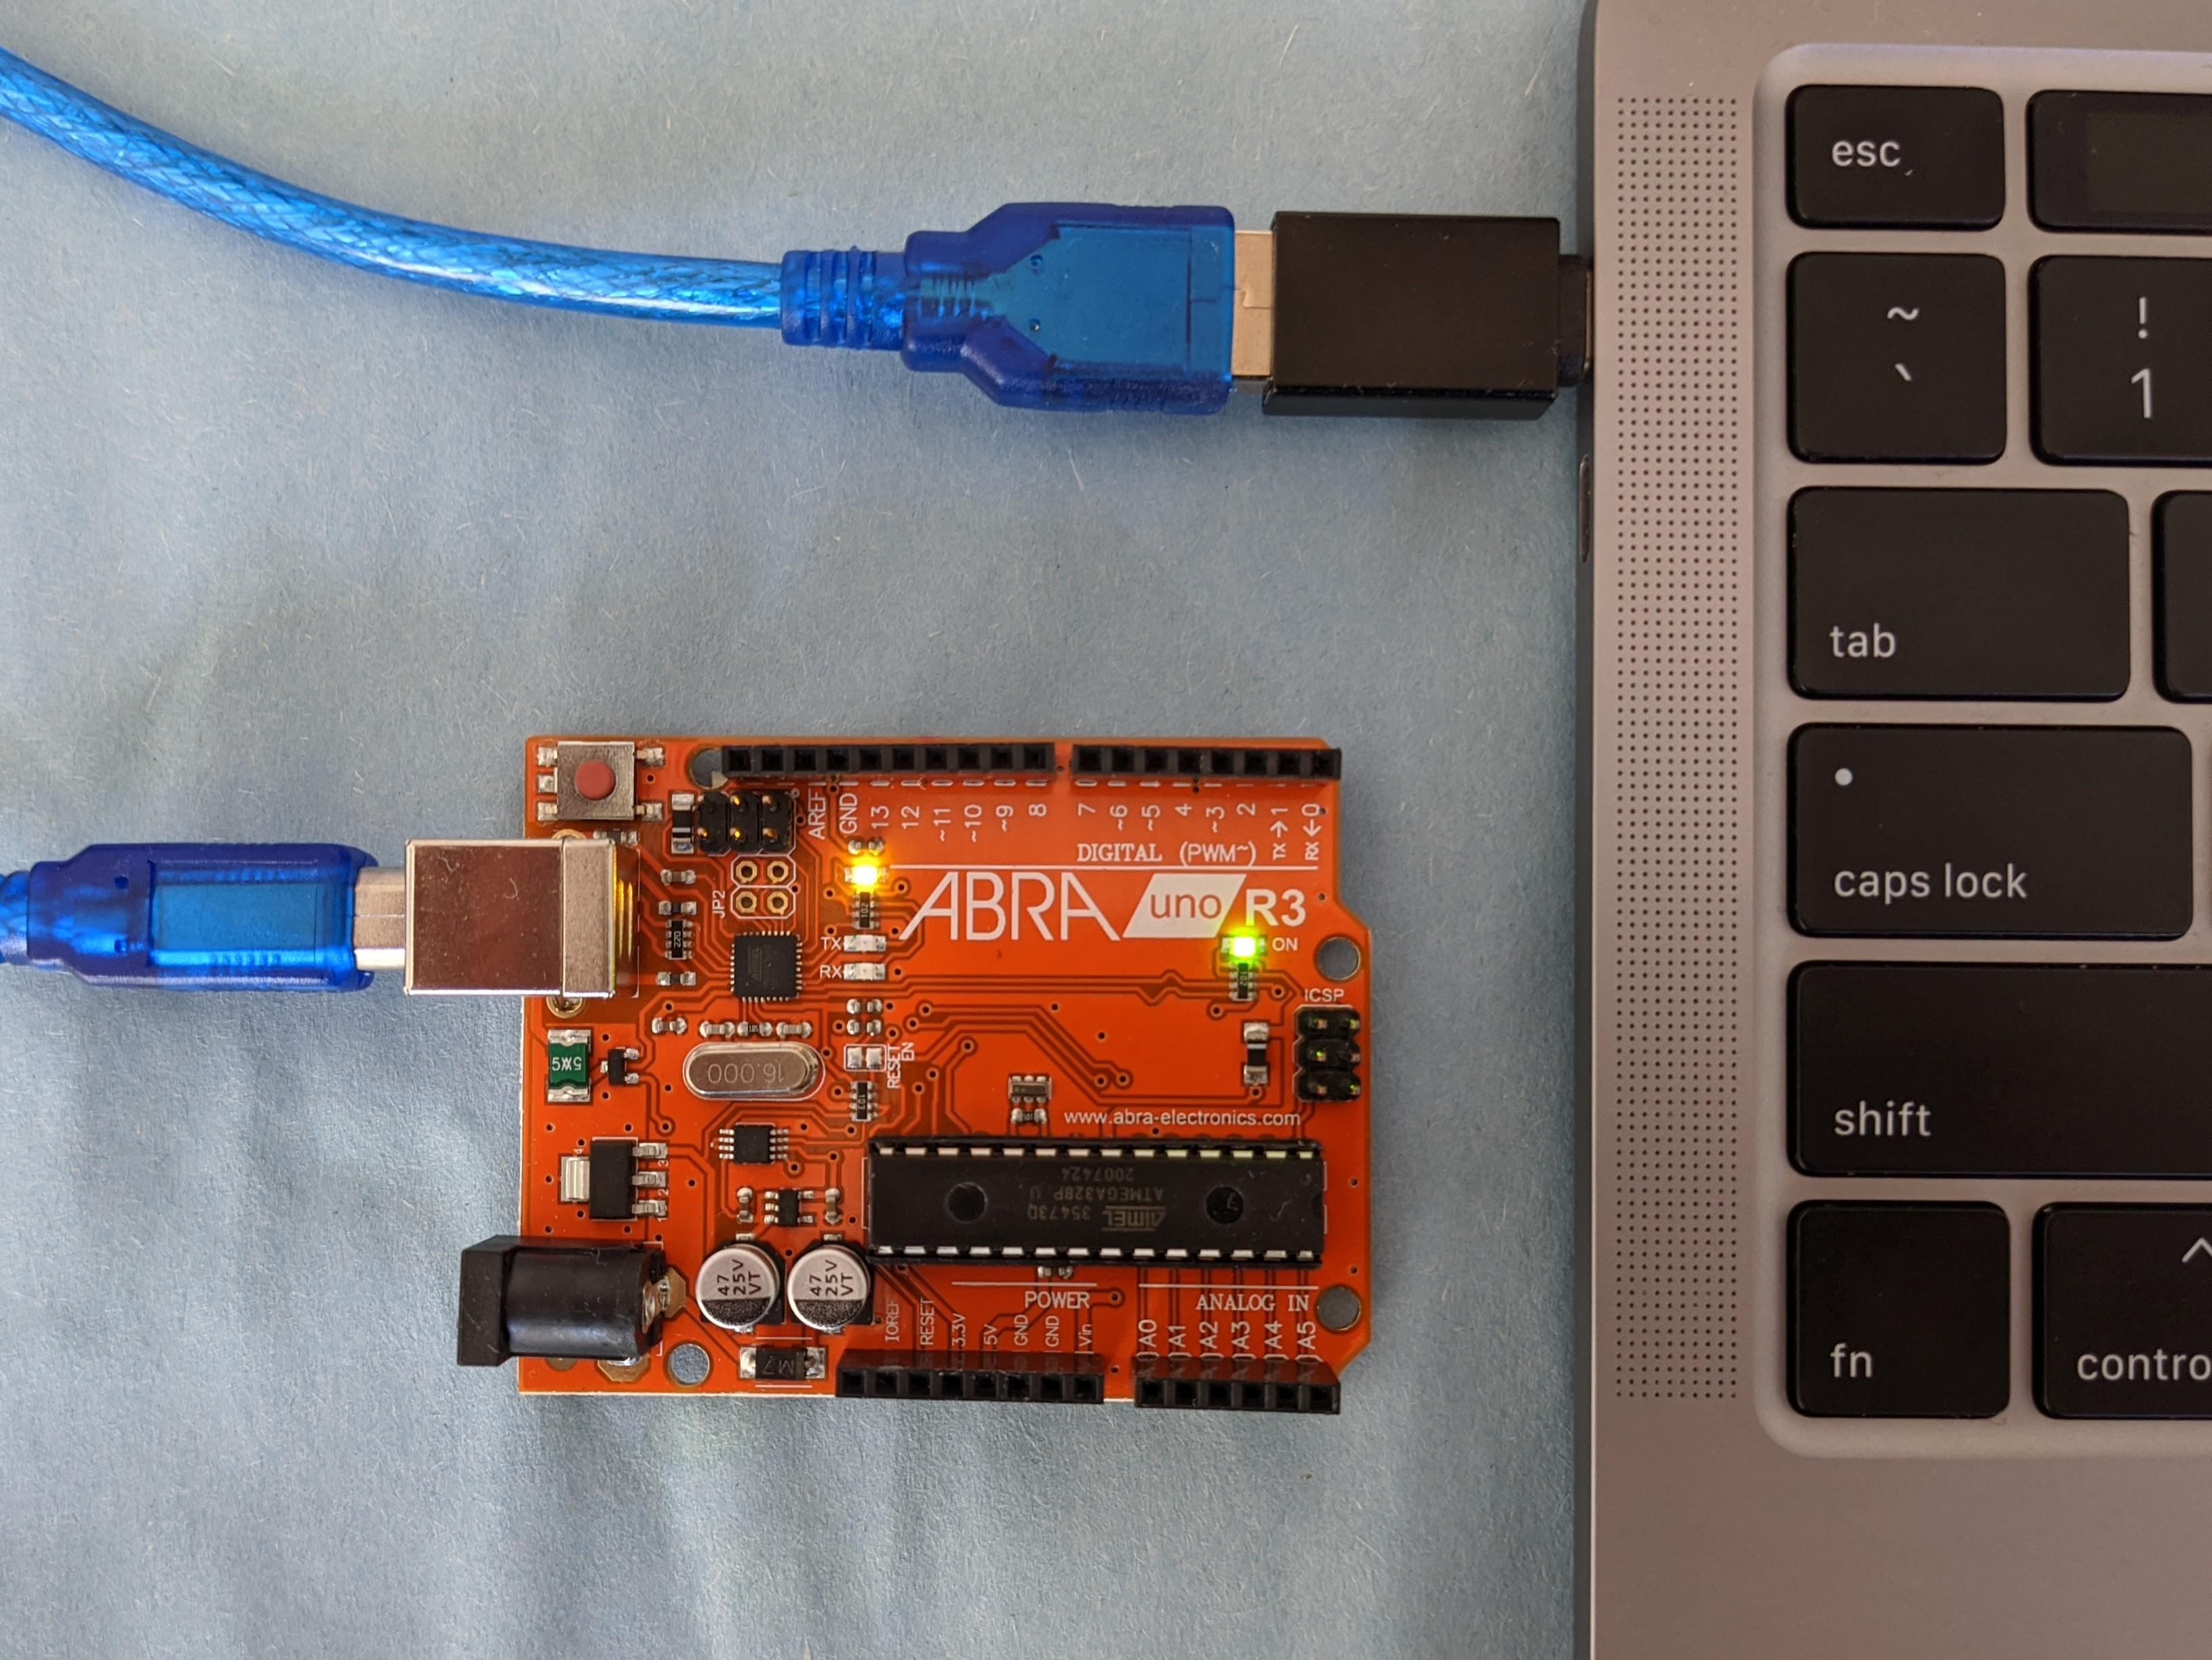
- Connect your laptop or desktop to the Uno via USB. To upload and run sketches your computer needs to know which board you are using and which port will be used for communication. From the dropdown menu select the correct board: Tools/Board/Arduino Uno. From the dropdown menu select the correct port which will differ from machine to machine: Tools/Port/"/dev/cu.name". A default "Blink" sketch may already loaded on the board.
Which port?
To know which port, you can look at which ports are available with your Uno disconnected. A new port will appear when you reconnect your board.
Open the "Blink" example in the IDE, from the dropdown menu: File/Examples/01.Basics. Change the 1000 millisecond delay to
delay(2000). Try to compile the program using the check mark icon. Upload to your board and run using the right arrow icon.If you have uploaded successfully the Uno board builtin LED near the GND and digital 13 pins will blink on and off with each state lasting two seconds.
Play around with different timing delays to see how you can control the built-in LED.